Removing Silences from Video with Timebolt
Video editing can be a time-consuming process, especially when it comes to removing silences from video. Thankfully, Timebolt.io’s powerful toolset is here to save the day, allowing you to automatically detect and remove silences with just a few clicks.
In this blog post, we’ll explore how Timebolt’s silence detection feature works, and how it can revolutionize your video editing experience.
How Timebolt’s Silence Detection Works
Getting Started
When you first launch Timebolt, you’ll be greeted with a simple, intuitive interface. To begin, click SELECT VIDEO / AUDIO FILE.

Navigate to the folder on your computer where your video or audio file is located and and upload to Timebolt.
Removing Silences from Video with Automatic Silence Detection
Once your video is uploaded, Timebolt has already begun to do it’s magic.

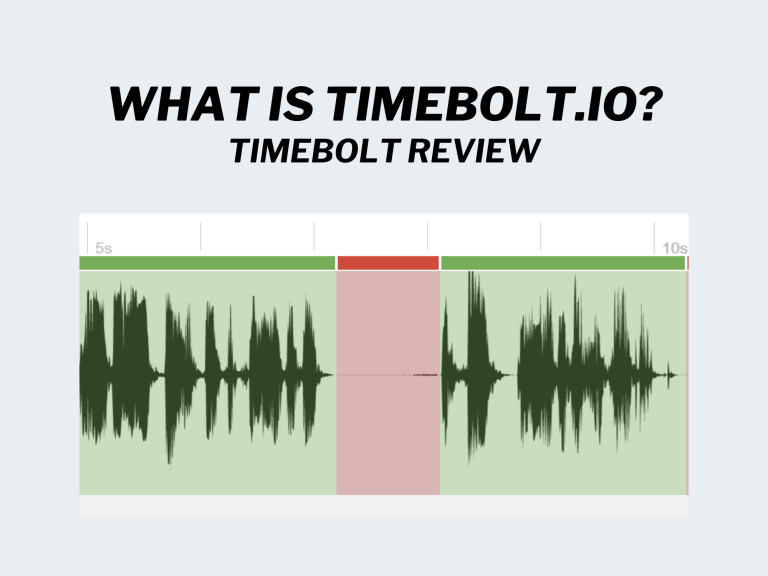
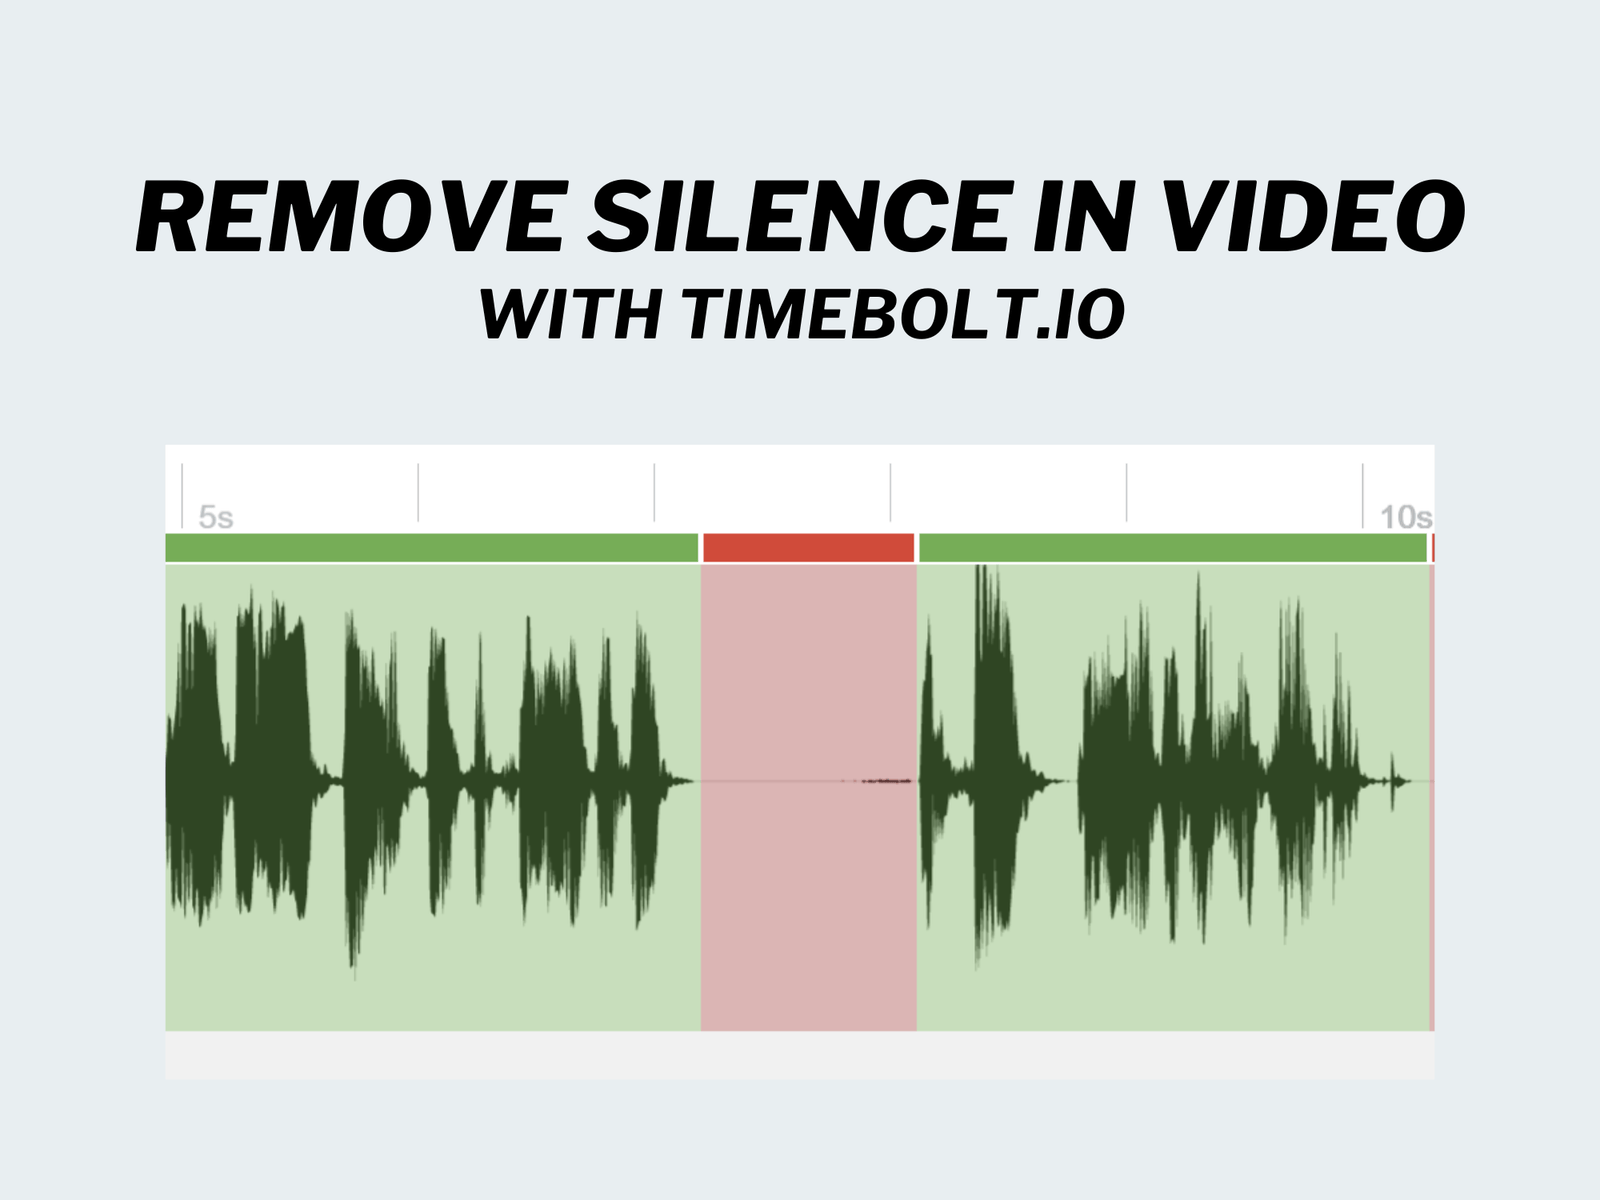
You’ll notice that some sections of the timeline are highlighted in red. These are the “silence” sections that Timebolt detected, and will be removed from your video at export.
Likewise, sections highlighted in green are where Timebolt detected audio. These are sections of the video that will be included in your video when it’s exported in the final step.
Understanding Timebolt’s Default Silence Detection Parameters
Timebolt.io has a few default parameters it uses when detecting silence in your videos.
- Sound level: If the sound is below -45dB, Timebolt recognizes this as a Silence. But just because a silence is detected, doesn’t mean it will always be removed.
- Duration of Silence: By default, Timebolt will also take a look at the length of that silence. Any silence longer than 0.5 seconds will be removed from the video. This also means any silence detected that is shorter than 0.5 seconds will not be cut from the video.
- Duration of Audio: The final parameter that Timebolt looks at is the duration of detected audio. If audio is detected (louder than -45dB) but the audio duration is shorter than 0.75 seconds, Timebolt counts this as a silence. Timebolt does this in an attempt to remove any accidental mic bumps or feedback that might register as audio (in dBs), but isn’t something you’d want to keep in your video.
To ensure a more natural cut within the video, Timebolt also adds padding to either side of the silence. Left Padding default is set to 0.09 and Right Padding is set to 0.15.

This means rather than completely removing a 1.0 second silence from your video, Timebolt will automatically leave 0.09 seconds in the front of the clip and 0.15 seconds at the end of the clip. Total silence removed: ~0.76 seconds.
If the entire 1.0 second of silence was removed, there would be virtually no gap between audio clips within your video, leaving a very unnatural and potentially annoying experience for your listener.
Customizing Silence Detection Settings
If the default settings don’t suit your preferences or the specific requirements of your video, you can easily adjust them to re-detect the silences. Simply modify the settings to your liking and click UPDATE SILENCE DETECTION. Timebolt will then reanalyze the video and detect silences based on your updated preferences.

With that said, Timebolt.io offers a few suggestions and recommendations when adjusting the settings:
Timebolt.io Recommedations and Suggestions:
Filter Below: This adjusts how much or how little sound is detected
– Test ranges between -30 and -45dB.
Remove Silences Longer Than: This controls the number of cuts
– A value of 0.5s or greater
– Any value below 0.5s may result in too many cuts
Ignore Detections Shorter Than: This is used to detect random mic strikes and filler or accidental sounds
– Any value greater than 0.75s may cut off important connector words and is not recommended
Left Padding: This is the buffer space that Timebolt adds in the beginning of the split clip
– It’s okay to reduce this greatly
– Your Left Padding should never be less than 0.01s
Right Padding: Adds buffer space at the end of the split clip
– Any value less than 0.15 is not recommended
When using the transitions feature within Timebolt, set the left and right padding to 0.10s GREATER than the transition duration.
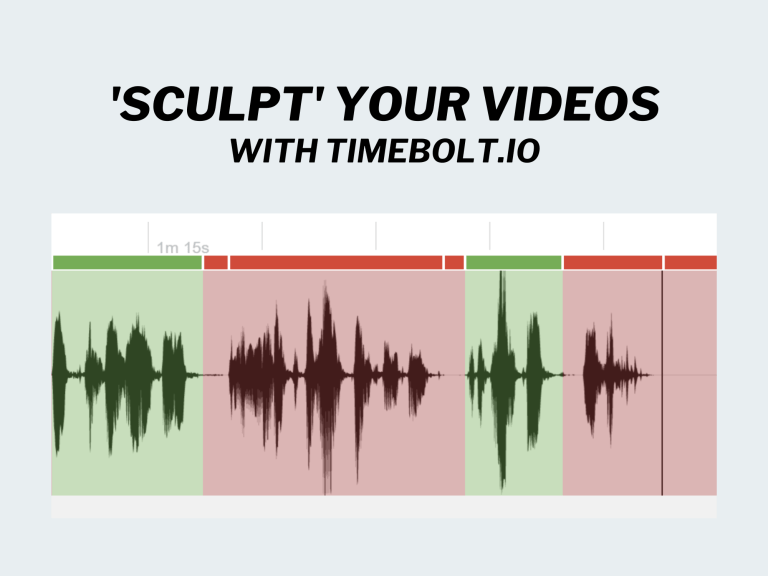
Fine-Tuning Your Videos with Sculpt
After fine-tuning your silence detection settings, you can further edit what to keep and what to cut from your video using the Sculpt feature in Timebolt. This gives you the ability to manually split, remove, or add back in clips for your videos. If you’d rather fast forward through the silences, as opposed to simply removing them, Timebolt gives you the option to do that as well.
if you’re not planning to export your video into another editing program like Adobe Premiere Pro, I highly recommend playing through the preview of your video and using Sculpt to make any last adjustments before exporting your video from Timebolt.
Benefits of Timebolt.io’s Silence Detection
- Time-saving: Timebolt.io’s automated silence detection and removal drastically reduce the time spent on tedious audio editing tasks, freeing you up to focus on more creative aspects of your project.
- Improved Video Quality: Removing unnecessary silences can make your videos more engaging and professional, ultimately leading to better viewer retention and satisfaction.
- Customization: Timebolt’s adjustable settings and manual touch-up options ensure that you have complete control over the final output.
- Easy-to-use Interface: Timebolt’s user-friendly design makes it accessible to both novice and experienced video editors, streamlining the editing process and eliminating the need for extensive training.
- Versatility: Timebolt’s silence detection feature can be utilized across various types of videos, including vlogs, tutorials, short-form content, podcast episodes, and more.
Conclusion
Timebolt.io’s silence detection tool is a game-changer for anyone looking to save time and improve the quality of their video editing projects. By automating the process of detecting and removing silences, Timebolt.io gives you the freedom to focus on what really matters – creating engaging, high-quality content.
I highly recommend you take a look at the full list of Timebolt features to see other areas where Timebolt can save you time editing.
Don’t let tedious video editing tasks ruin your creative flow. Give Timebolt.io a try and see just how much time it can save you!
This blog post contains affiliate links for which we may earn a commission at no extra cost to you. However, we only recommend tools we believe in and use ourselves.