Easily Add Transition Effects to Video in One-Click
If you’re looking for an incredibly easy way to add transition effects to videos, then stop what you’re doing and read this!
You’ve likely seen the fancy video editing cuts and transitions that creators insert into their videos and wondered “how the heck do they do that?” With Timebolt.io, the process couldn’t be easier, so let’s dive in!
Automatically Add Transition Effects to Video with Timebolt
If you want to add transition effects to videos, this is traditionally a very tedious and painstaking process. To achieve the kind of transition effects on Reels, or what you see on YouTube, involves meticulously working through every clip and manually adding transitions yourself.
Imagine having to manually add transitions into every one of these cuts! Insanity!

Rather than spending the time to do that, we can automate the process to add transitions to clips, in one-click using Timebolt.io.
How to Instantly Add Transitions to Clips in Timebolt
Important Note: Adjust these settings BEFORE you begin editing the timeline in Timebolt. All changes to timeline edits will be lost after updating your settings.
After uploading your video into Timebolt, scroll down to Rendering Enhancements.

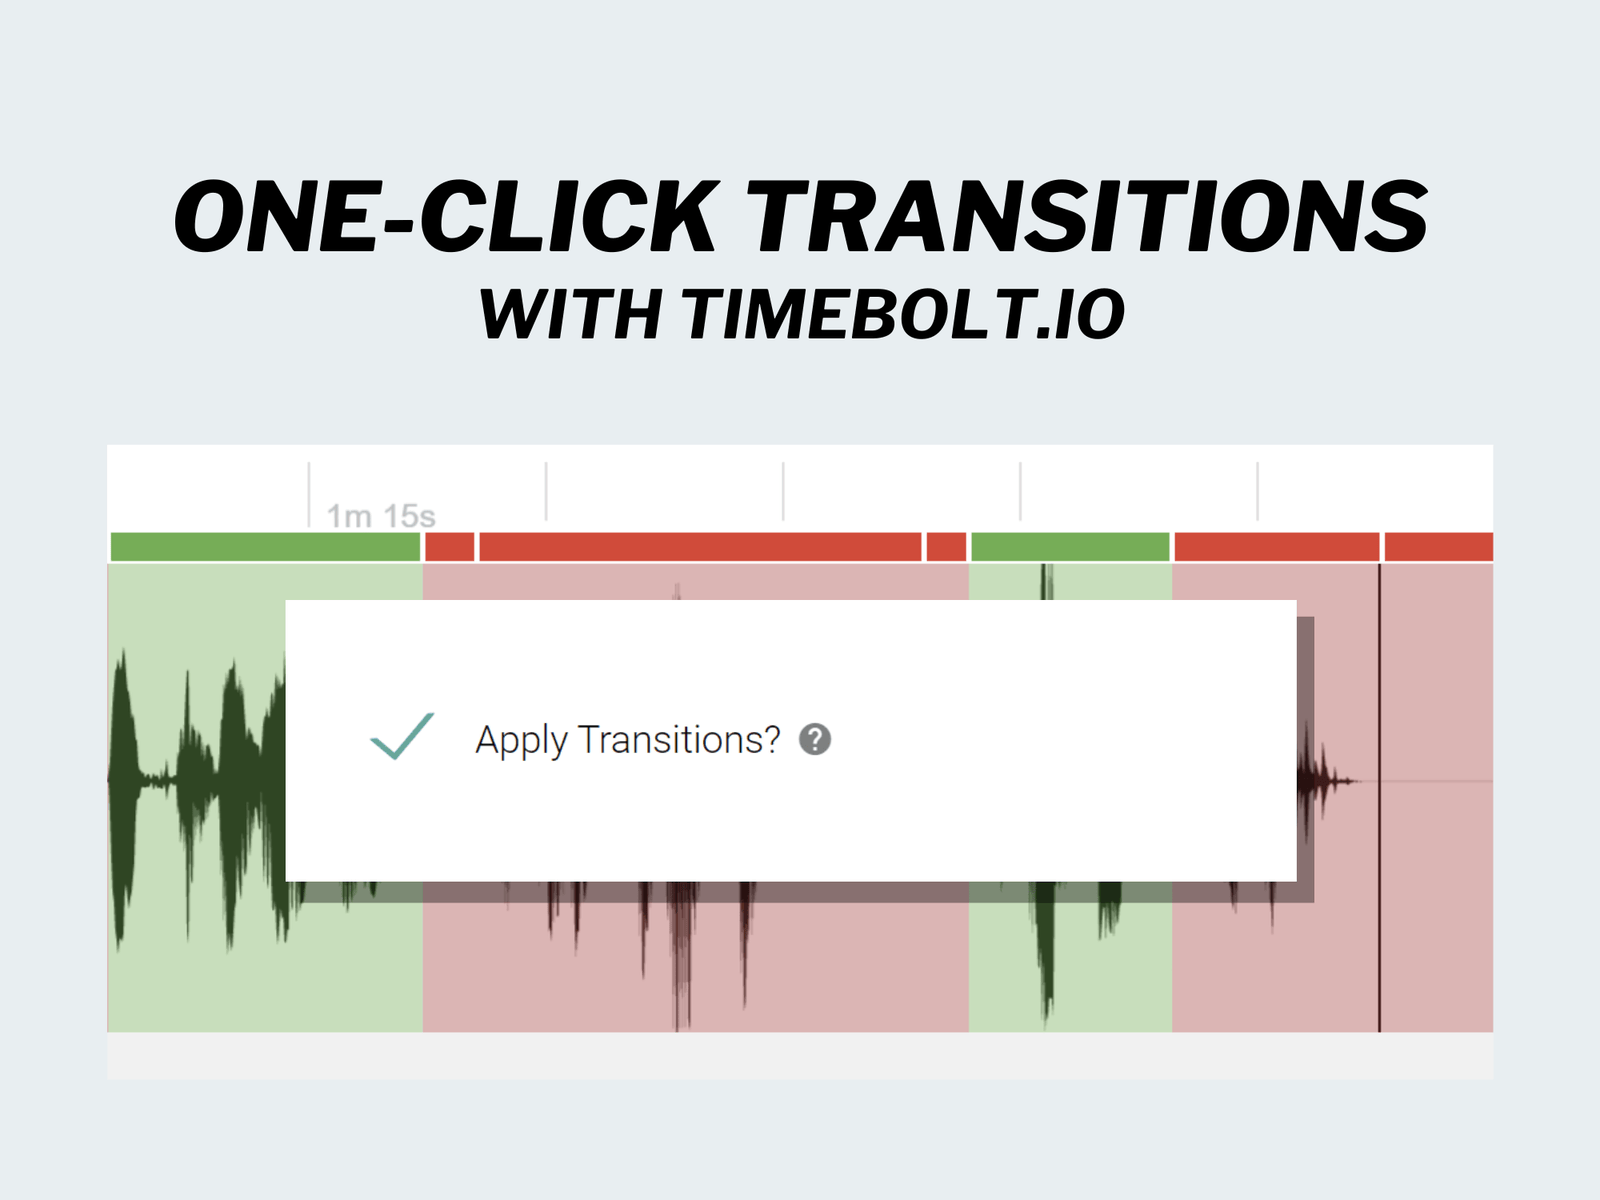
Click on the check box next to Apply Transitions. This will bring up some additional settings that you’ll need to adjust.
Here, you’ll choose the Transition effect you’d like to add, along with the Transition Duration.

Important Step: After you’ve chosen your preferred transition effect and transition duration, you MUST adjust the padding in your clip.
Scroll back up to Silence Detection Options and ensure that your Left Padding and Right Padding are at least 0.05s MORE than your transition duration.

Once you’ve updated your left and right padding, click Update Silence Detection.
When you render and export your new video, the selected transitions will automatically be applied to all the cuts in your video!
Important Things to Keep in Mind Before Adding Transition Effects to Your Videos
While this feature is undoubtedly a time-saver, there are a few key considerations to keep in mind:
- Transition Frequency: Timebolt will apply the selected transition to every cut in the video. If your video contains numerous cuts, this could result in repetitive transitions which might detract from your viewer’s experience. This may be effective for short-form content like the transition effects on Reels that you might encounter, but may not be favorable for your long-form videos. Always consider the nature of your video content when deciding on transitions.
- Left/Right Padding: Timebolt recommends setting your Left/Right Padding (discussed in our post on Automatic Silence Detection and Removal) to be 0.05 seconds more than your transition duration. So, if you’ve set your Transition Duration to 0.15 seconds, your Left/Right Padding should be set to 0.20 seconds. Failing to update this setting may result in unpleasant or unwanted clicking sounds in your audio.
- Alternative Editing Programs: If you still prefer to apply your transitions in another editing program, you can export your video, complete with cuts, directly into popular programs such as Adobe Premiere Pro, Davinci Resolve, or Camtasia.
The Benefits of Timebolt’s One-Click Transitions
Incorporating transitions via Timebolt offers several benefits:
- Time Efficiency: With transitions applied directly within Timebolt, you save precious time typically spent toggling between various editing platforms, manually adding your transitions.
- Ease of Use: The one-click approach simplifies the typically complex process of adding transitions, making it accessible to beginners and pros alike.
- Flexibility: If you don’t wish to use Timebolt’s automatic transitions, Timebolt allows you the ability to export your video with cuts intact, letting you add transitions in your preferred editing software.
- Quality: With customizable settings, you retain control over the quality and style of your transitions, helping you achieve your preferred results.
Conclusion
Whether you’re a seasoned video editor or just a beginner, Timebolt’s one-click transitions feature is a definite time-saver worth exploring. With many transition types to choose from, and control over your transition durations, you can create stunning, high-quality videos with ease.
Still not sure if Timebolt is right for you? Check out our in-depth review of Timebolt before making your decision.
This blog post contains affiliate links for which we may earn a commission at no extra cost to you. However, we only recommend tools we believe in and use ourselves.